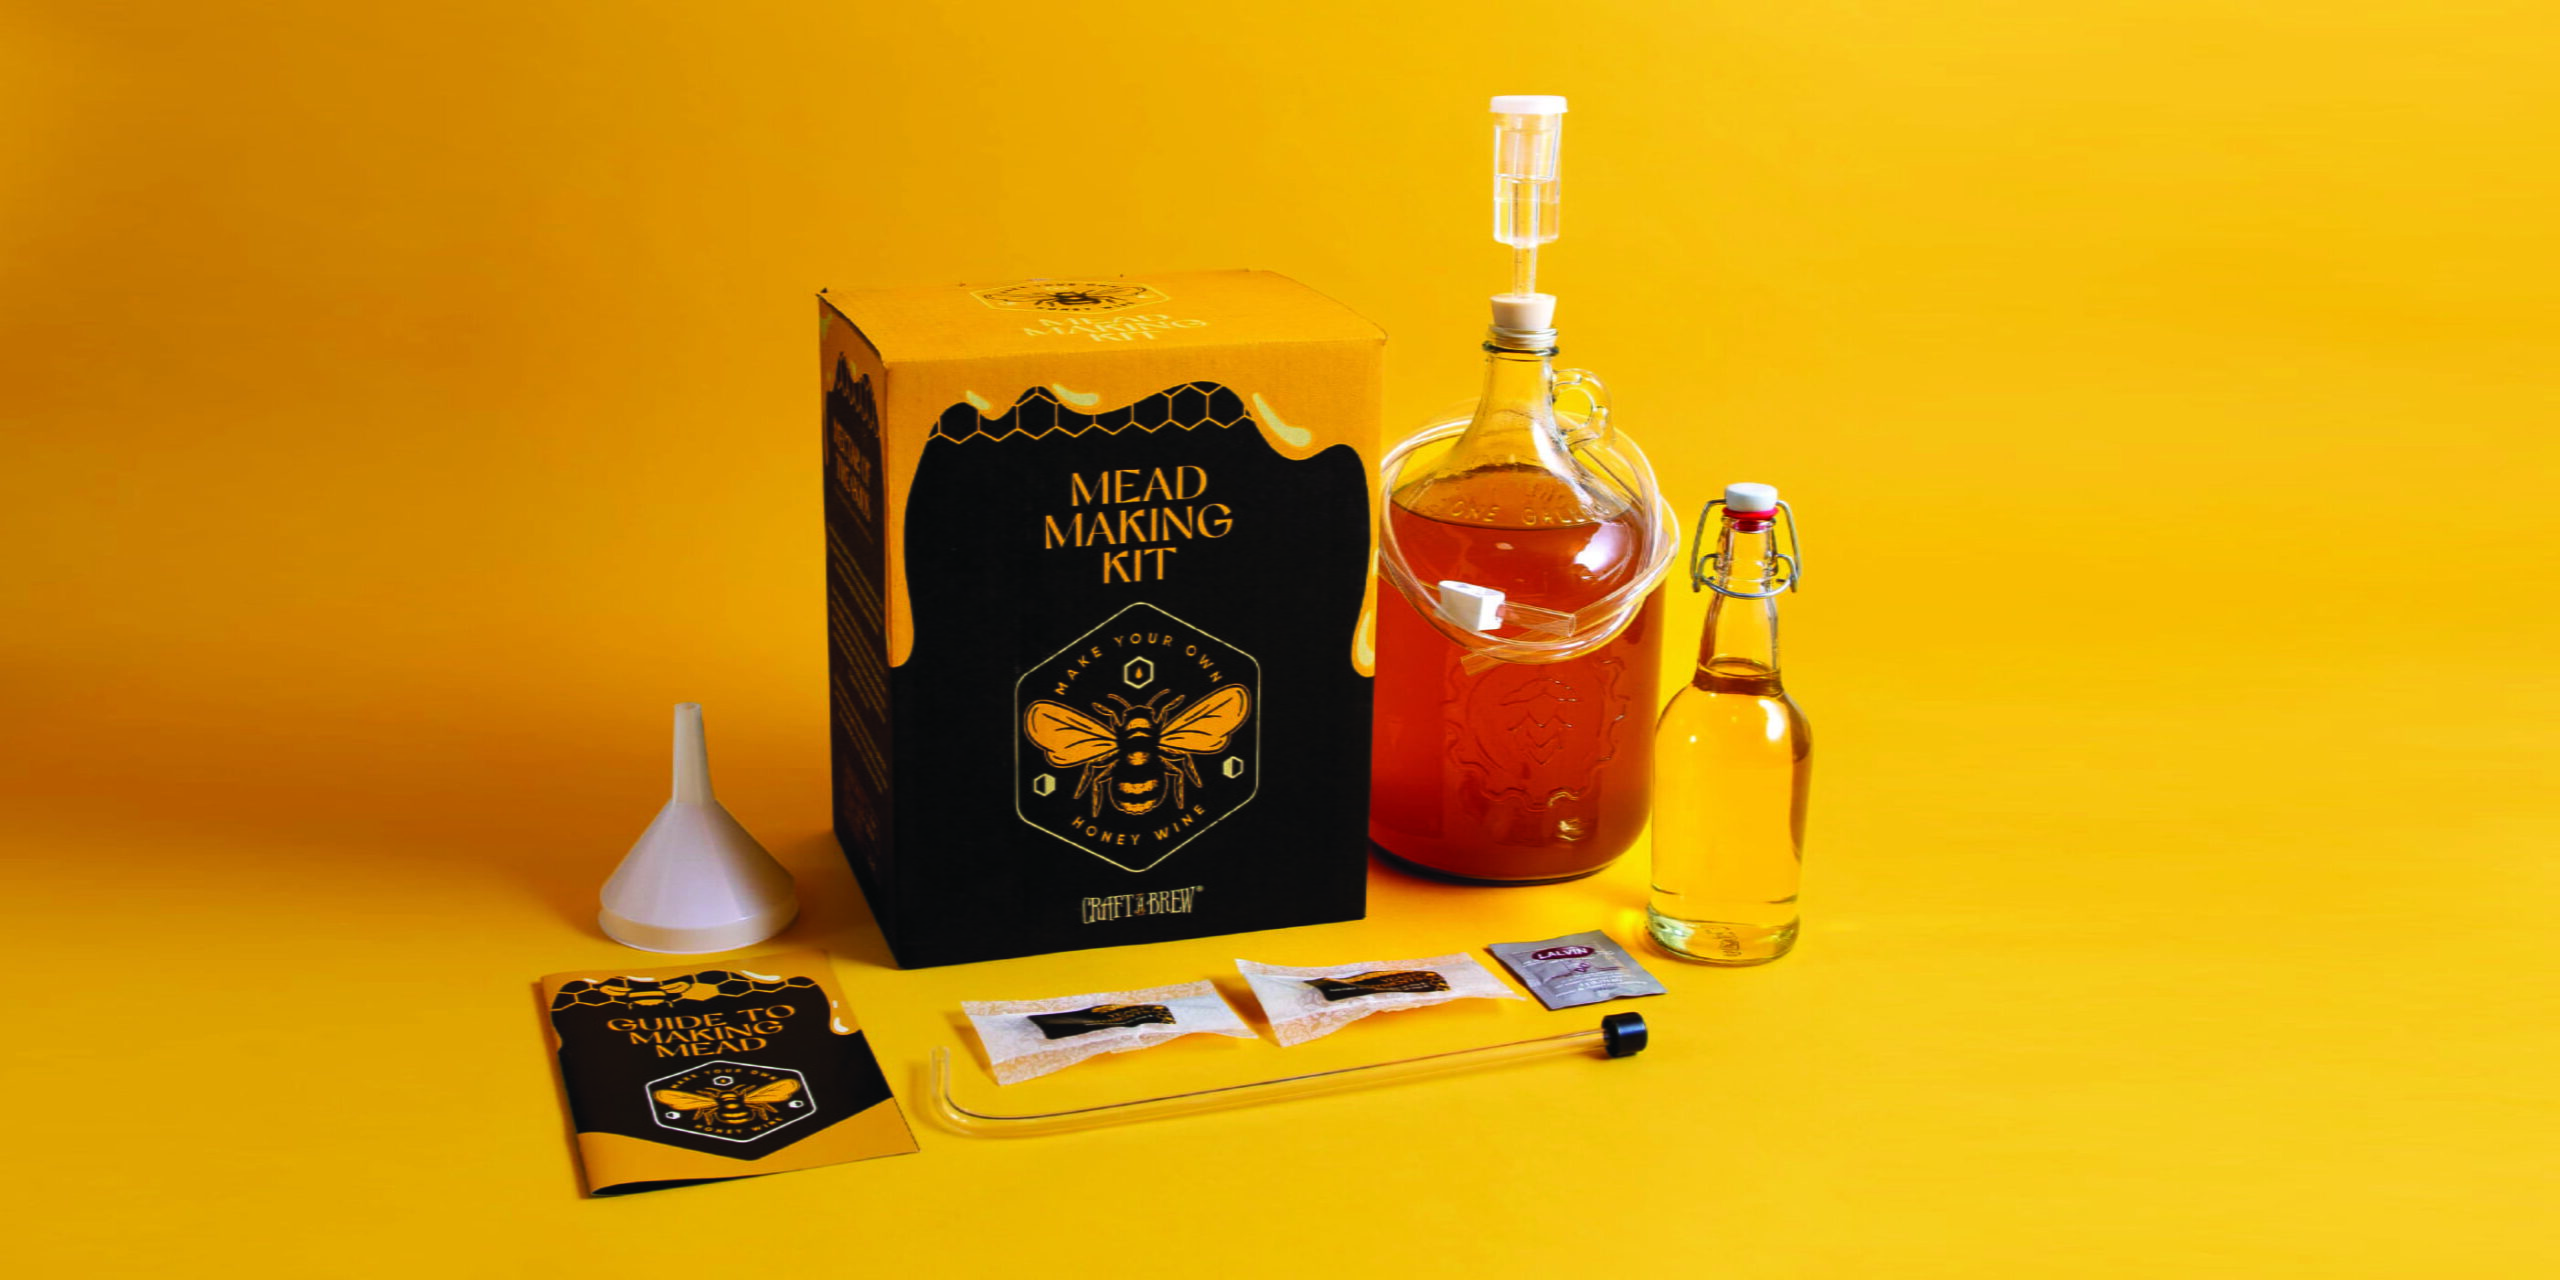
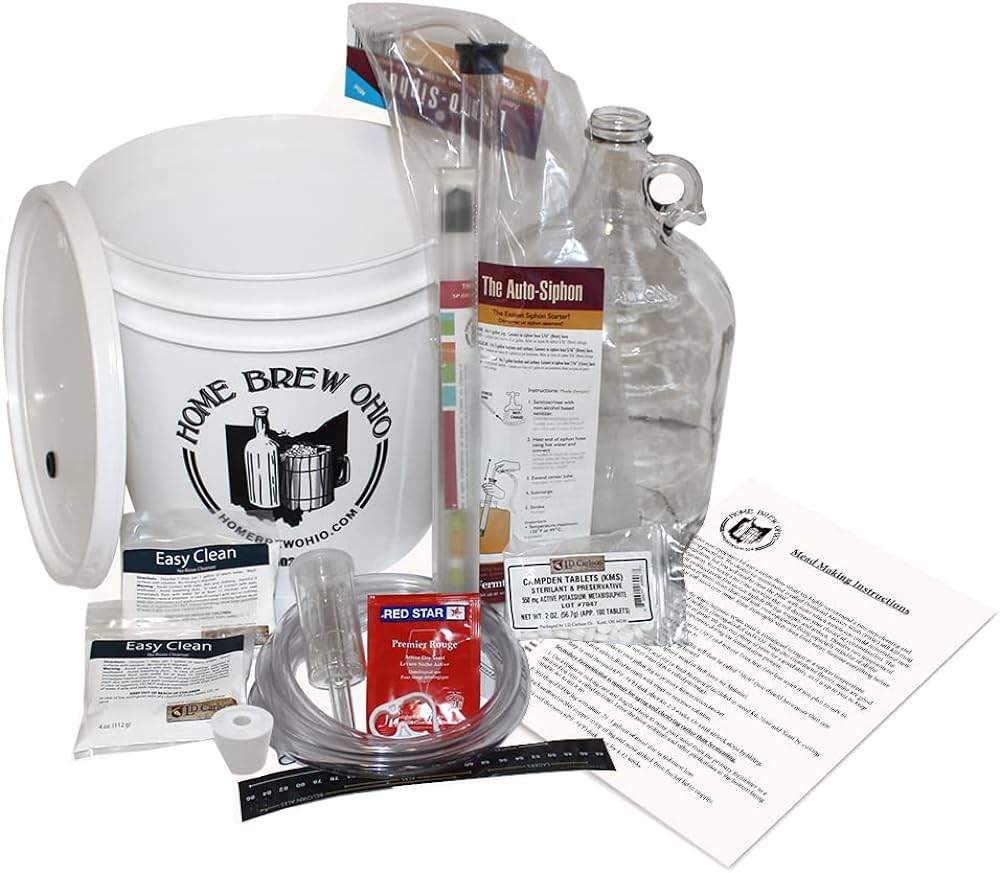
To bottle mead without a siphon, pour carefully or use a ladle and funnel combo. Ensure minimal disturbance to the sediment during this process.
Bottling homemade mead is a critical step in the mead-making process, and doing it right ensures the clarity and quality of your final product. Traditionally, mead makers use a siphon to transfer mead from the fermentation vessel to bottles, minimizing the disturbance of the sediment at the bottom.
However, not everyone has a siphon at their disposal. For those looking for an alternative, mastering the technique of careful pouring or utilizing kitchen tools like a ladle and funnel can be equally effective. This method requires patience and a steady hand to maintain the integrity of your brew. In this guide, we explore practical, siphon-free methods for bottling your mead, ensuring a clear, sediment-free result.
Getting Started With Mead Bottling
Making mead is a rewarding experience, but bottling can be a bit tricky without the right tools. Fear not! You can still bottle your golden brew without using a siphon. Let’s walk through the essentials to bottle mead with ease and ensure your sweet honey nectar is ready for enjoyment or aging.
Essential Equipment And Ingredients
To get started, you need some key supplies:
- Bottles: Choose the right size and type for your mead.
- Caps or Corks: These seal your bottles and keep mead fresh.
- Funnel: A large one makes pouring mead into bottles clean and easy.
- Mead: Your fermented honey creation is ready for bottling!
Remember, freshness and taste depend on using the proper equipment.
Sanitizing Your Bottling Gear
Clean gear means pure mead. Follow these steps:
- Mix Sanitizer: Use a no-rinse sanitizer for convenience.
- Clean Everything: Soak bottles, funnel, and caps or corks.
- Air Dry: Make sure all equipment is dry to ensure no water dilutes the mead.
Bottling with sanitized gear ensures your mead stays delicious and safe to drink.
Alternative Methods To Siphoning
Bottling mead can be a challenge without a siphon. But fear not! Here are some other ways to get the job done without this tool. These methods ensure a clean and efficient transfer of your homemade mead into bottles, ready for aging or sharing with friends. Each strategy offers a unique approach to suit different preferences and available materials.
Using A Ladle And Funnel
This method is simple and straightforward. First, sanitize your ladle and funnel. Then, follow these steps:
- Place your mead vessel on a stable surface.
- Position a clean bottle with a funnel at its mouth below the edge of the vessel.
- Use the ladle to scoop mead and pour it through the funnel into the bottle.
- Fill the bottle to the desired level, leaving some headspace.
The Pouring Technique
With a steady hand, mead can be poured directly from the vessel to bottles. Here’s how:
- Ensure both your vessel and bottles are on a flat surface.
- Tip the mead container gently and begin to pour slowly.
- Keep the lip of the container close to the bottle’s mouth to avoid spills.
- Control the pour to prevent overfilling and oxidation.
Gravity Fed Mead Transfer
Use gravity to your advantage with this method. To set up a gravity fed system:
- Place the mead container on a higher surface than the bottles.
- Use a hose that fits snugly in both the container’s opening and the bottles.
- Start the flow by sucking air out of the hose until mead comes through.
- Direct the hose into your bottles, filling each one by one.
Finessing The Bottling Process
Bottling mead can seem like an alchemist’s dance, with precision and grace ensuring a perfect outcome. Without a siphon, the challenge grows, but so does your opportunity to master the craft. Below are detailed steps to finesse this delicate process, ensuring your mead is bottled beautifully, maintaining its integrity and flavor.
Temperature Considerations
Temperature plays a pivotal role in mead bottling. It’s critical to keep your mead stable and cool. This helps prevent unwanted fermentation from restarting in the bottle.
- Chill your mead to below room temperature before bottling.
- Maintain a consistent temperature to avoid stressing the mead.
- Aim for a bottling environment around 15°C to 18°C (59°F to 64°F).
Avoiding Oxidation
Exposure to air can spoil the mead’s taste through oxidation. Limiting air contact is crucial.
- Fill bottles to the neck to reduce air space.
- Use clean equipment to avoid introducing contaminants.
- Cover open mead containers with a sanitized cloth.
Controlling Sediment
Sediment affects clarity and flavor. Careful pouring keeps it out of your final product.
| Step | Action |
|---|---|
| 1 | Settle your mead for several days in a cool place. |
| 2 | Gently transfer the mead into another container, leaving sediment behind. |
| 3 | Pour slowly and stop before the sediment layer enters the bottle. |
If mead begins to cloud, pause to let sediment settle again.

Credit: theapiarist.org
Sealing The Deal
Sealing the deal is an important step in bottling homemade mead. After transferring your crafted mead into bottles, securing them properly ensures longevity and taste. This section dives into the art of closing your bottles. Understand the closures used, the benefits of capping versus corking, and tips for labeling. Get ready to master sealing your mead for that perfect sip!
Choosing The Right Closure
Choosing the right closure is crucial for your mead’s shelf life and quality. There are various options:
- Screw caps: They are easy to use and great for short-term storage.
- Corks: Natural or synthetic, corks provide a classic look and feel.
- Crown caps: Commonly used for beer, they are also suitable for mead.
Consider the storage duration and the mead style when selecting your closure type.
Capping Vs. Corking
| Capping | Corking |
|---|---|
|
|
Decide between capping and corking based on personal preference, available tools, and storage options.
Labeling Your Bottles
Labels add a personal touch and important information. Follow these tips:
- Pick a design that suits your style or brand.
- Include the mead type, bottling date, and ABV (Alcohol By Volume).
- Use label paper or adhesive sheets for easy application.
With creative labels, your mead becomes a unique reflection of your hard work.
Post-bottling Care
Once your mead is bottled, the right care is vital for perfect flavor. The process does not end when you cap your newly bottled mead; this is when the magic of aging begins. Proper post-bottling care ensures your hard work pays off with delicious results. Let’s discuss how to maintain your mead to perfection.
Proper Storage Conditions
Storing mead correctly is crucial for optimal aging. Keep bottles in a cool, dark place. Your mead enjoys temperatures between 50 to 55 degrees Fahrenheit (10 to 13 degrees Celsius). Avoid places with temperature swings. Consistency is key. Humidity levels of 70% prevent cork drying. Follow these tips:
- Store upright for the first 24 to 48 hours.
- Then, tilt on sides to keep corks moist.
- Keep away from direct sunlight and strong smells.
Monitoring The Aging Process
Keep track of your mead’s age. Label each bottle with the bottling date. Note any changes in taste or appearance periodically. Use these techniques:
| Time Interval | Action |
|---|---|
| Every 3 months | Visual check for clarity and sediment |
| Every 6 months | Taste test a single bottle |
Tasting And Serving Suggestions
Mead tastes best when served right. A chilled glass brings out flavors. Ideal serving temperatures are:
- Sparkling mead: Serve like white wine, around 40 to 50 degrees Fahrenheit (4 to 10 degrees Celsius).
- Still mead: A bit warmer, between 50 to 60 degrees Fahrenheit (10 to 15 degrees Celsius).
Pour gently to avoid stirring up any sediment. Pair with cheese, fruit, or dessert for an unforgettable tasting experience.

Credit: blog.craftabrew.com

Credit: www.amazon.com
Frequently Asked Questions On How To Bottle Mead Without A Siphon
Do You Need A Siphon For Mead?
Yes, using a siphon is advisable for mead to transfer it between containers without disturbing sediment or introducing oxygen. It helps maintain clarity and flavor.
How Do You Bottle Without Auto Siphon?
To bottle without an auto siphon, sanitize the bottles, use a funnel and pour carefully, or start a manual siphon using food-grade tubing. Ensure a steady flow to prevent oxidation. Seal bottles promptly after filling.
How Do You Rack Cider Without A Siphon?
To rack cider without a siphon, gently pour the liquid into another container, leaving the sediment behind. Use a clean, sanitized tube to start a gravity-fed transfer, avoiding the bottom dregs.
How Do You Siphon Mead Into A Bottle?
Sanitize the siphon and bottles. Start the siphon, keeping the mead free from bubbles. Fill each bottle to the correct level, then cap or cork securely.
Conclusion
Bottling mead without a siphon is simpler than you might think. By following the step-by-step guide provided, you’ll ensure your mead is transferred cleanly and efficiently. Patience and precision – that’s what it takes. Embrace the process and soon enough, you’ll be savoring your very own home-bottled mead, rich with tradition and taste.
Cheers to your success!

