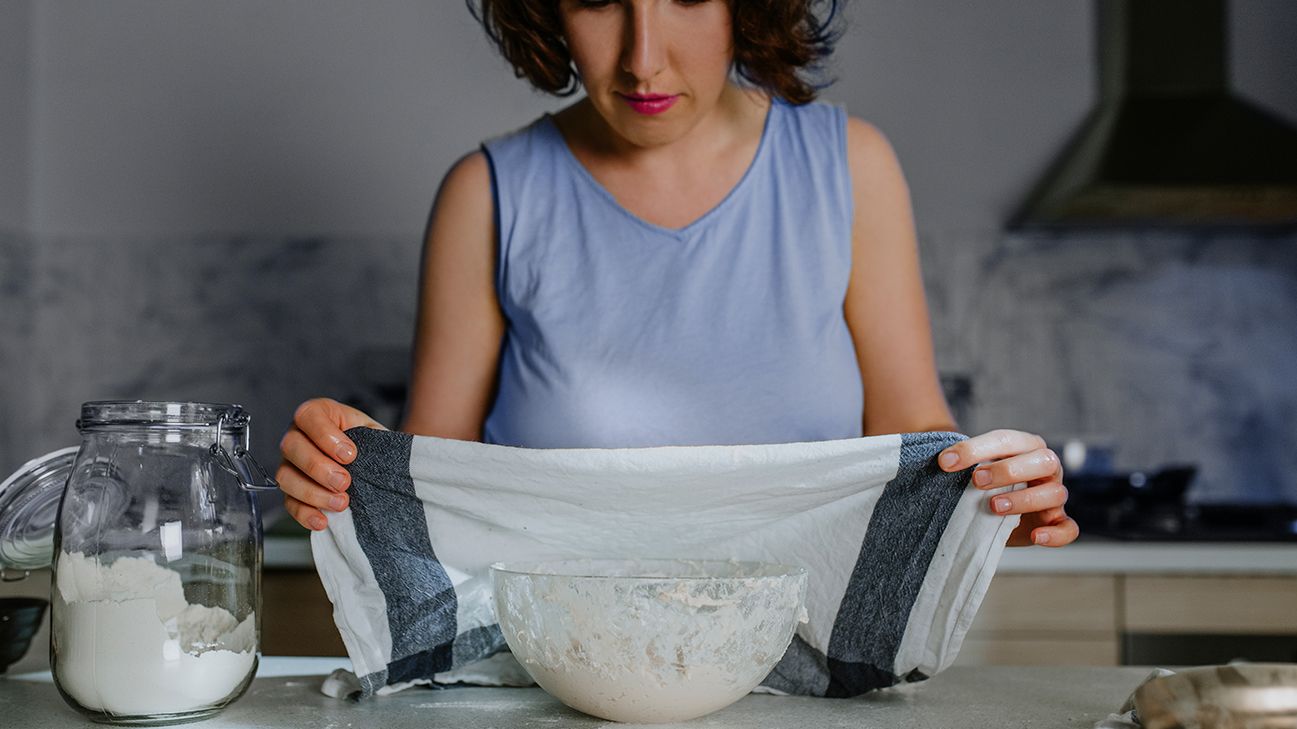
To make a yeast starter, mix water, yeast, and malt extract in a flask. Provide warmth and intermittent shaking for yeast activation.
Creating a yeast starter is an essential step for homebrewers aiming to produce high-quality beer. This process involves cultivating a large quantity of active yeast cells to ensure a strong fermentation. The starter encourages yeast multiplication, leading to a better beer flavor and reduced fermentation time.
Starters are particularly crucial when brewing high-gravity beers that require a robust yeast population to fully ferment. By preparing a yeast starter a few days in advance, brewers can significantly increase their chances of a successful and efficient fermentation—this is a game-changer in the brewing process, enhancing both the consistency and quality of the final product. Whether you’re an experienced homebrewer or just starting out, mastering the art of making a yeast starter is an invaluable skill.

Credit: greatist.com
Importance Of Yeast Starter
Creating a yeast starter is crucial for brewing success. It preps the yeast for its vital role in fermentation. This process results in a strong and active yeast colony. Let’s dive into why a starter is important for homebrewers.
Enhancing Fermentation
A yeast starter helps kickstart the fermentation process. It leads to several key benefits:
- Faster start: Reduces lag time before fermentation begins.
- Consistency: Ensures a predictable fermentation cycle.
- Efficiency: Allows yeast to consume sugars more effectively.
Improving Yeast Health
A healthy yeast population is paramount for quality brewing. Here’s how a starter improves yeast health:
| Factor | Benefit |
|---|---|
| Vitality | Boosts yeast’s ability to ferment. |
| Quantity | Increases cell count for robust fermentation. |
| Purity | Promotes a strain-specific brew. |
Both factors are key for a superior beer profile. They ensure a clear, well-carbonated end product. Always remember, the heart of great beer lies in the health and readiness of the yeast!

Credit: medium.com
Choosing Ingredients
Ready to brew your next batch? A yeast starter ensures a strong, healthy fermentation for your beer. Let’s dive into choosing top-notch ingredients for your yeast starter.
Selecting The Right Yeast Strain
It’s vital to pick a yeast that matches your beer style. Every yeast strain imparts different flavors and characteristics. Use a reliable yeast strain to ensure your beer’s success. The strain must tolerate your beer’s alcohol content. Ale yeasts work well for most starters due to their robust nature.
Choosing Fermentable Sugars
Yeast needs sugar to grow. For your starter, use light dry malt extract (DME) as your sugar source. It’s the industry standard. Aim for a ratio of 100 grams DME per 1 liter of water. This mixture mimics the beer environment, helping the yeast adapt. Ensure your DME is fresh and free from contaminants. This ratio provides an ideal gravity of 1.040, perfect for yeast propagation.
Quick Reference: Yeast Starter Sugar Ratio
| Dry Malt Extract (DME) | Water | Gravity |
|---|---|---|
| 100 grams | 1 liter | 1.040 |
Preparing The Yeast Starter
Welcome to the critical process of preparing a yeast starter! Perfecting this step is essential for a successful fermentation, yielding the best flavors in your homemade brew. Let’s dive into the preparation steps to ensure that your yeast thrives and your brew stands out.
Sanitizing Equipment
Before we handle the yeast, we must focus on cleanliness. Clean gear equals a pure starter, free from unwanted bacteria. Start with these simple steps:
- Collect all your equipment: flask, stir bar, stopper, and airlock.
- Wash everything with hot, soapy water.
- Rinse thoroughly to remove any soap residue.
- Sanitize all items with a no-rinse sanitizer, following the product instructions.
- Let the equipment air dry on clean paper towels.
Creating The Starter Wort
The starter wort is the nourishment for your yeast. Make it right, and the yeast will multiply efficiently. Follow these steps for a robust starter:
- Measure dry malt extract (DME) using the ratio: 1 gram of DME per 10 mL of water.
- Boil the measured water in a pot.
- Add the DME to the boiling water, stirring constantly to dissolve.
- Boil this mixture for 10 minutes, killing any unwanted organisms.
Remember to cool the wort quickly to yeast-pitching temperatures. You can use an ice bath or a cold-water bath to expedite the process. Once cooled, transfer the wort into the sanitized flask. Now, it’s time to pitch the yeast!

Credit: zohprobiotics.com
Yeast Propagation
Yeast propagation is a critical process for any brewer. It involves growing yeast cells in ideal conditions before they work their magic during fermentation. A robust yeast starter ensures a strong and healthy fermentation.
Stir Plate Method
The stir plate method offers a fast and efficient route to a vigorous yeast starter. It constantly stirs the yeast mixture, providing oxygen and keeping the yeast in suspension for even growth.
- Sanitize all your equipment
- Prepare your starter wort and cool it
- Transfer the wort to a flask
- Introduce the yeast and place on the stir plate
A magnetic bar creates a vortex inside the flask. This enhances yeast cell multiplication.
Shaken Not Stirred Method
The shaken not stirred method is straightforward and doesn’t require special equipment. It still encourages yeast cell growth effectively.
- Sanitize all equipment
- Prepare the wort and cool it
- Pour the wort into a jar with extra space
- Add the yeast and vigorously shake the jar
Shaking introduces oxygen and keeps the cells moving. This wakes the yeast and gets them ready for their job.
Pitching The Yeast
To create a vigorous yeast starter, properly pitching the yeast is paramount. Ensuring your brew embarks on fermentation with vitality, mastering this step can elevate your homemade beers to professional quality.
The moment has come to pitch the yeast into your wort, which is a critical step. Doing it right means a strong, healthy fermentation. Here’s how to get the timing and temperature right and whether to opt for clear or turbid wort.
Timing And Temperature
Pitch yeast when the wort cools to the right temperature. This is often between 64°F to 72°F (18°C to 22°C), depending on the yeast.
- Use a thermometer to check the temperature.
- Be patient as the wort cools. It’s worth the wait.
- Pitch too hot, and the yeast may die. Pitch too cool, and fermentation delays.
Turbid Or Clear Wort
Decide between a clear or turbid wort:
| Clear Wort | Turbid Wort |
|---|---|
| Settles solids, leads to cleaner fermentation. | Retains more proteins, potentially beneficial for yeast health. |
Let the wort sit after boiling to help solids settle. Or, for turbid wort, stir well. The choice affects your yeast’s environment and beer’s taste.
Frequently Asked Questions Of How To Make A Yeast Starter
How Do You Make A Yeast Starter At Home?
To make a yeast starter at home, boil a mix of water and dry malt extract. Cool it to room temperature, then add yeast. Cover and stir periodically to aerate, promoting yeast growth.
Should I Make A Yeast Starter?
Yes, creating a yeast starter can promote strong fermentation, especially for high gravity beers or when using older yeast. It ensures healthy yeast cells and optimal beer quality.
How Much Yeast Is Needed To Make A Starter?
To make a yeast starter, use about 1 gram of dry yeast per 10 milliliters of water. This ratio scales with the desired starter volume.
Can I Make A Yeast Starter Without A Stir Plate?
Yes, you can make a yeast starter without a stir plate. Manually swirl the flask several times daily to ensure yeast suspension and proper aeration.
Conclusion
Crafting your own yeast starter is a rewarding step towards brewing excellence. Mastering this skill ensures vigorous fermentation and flavorsome outcomes. With practice, it becomes a simple routine. Embrace the process to elevate your homebrew and impress with every sip.
Happy brewing, and let the fermentation be bountiful!

